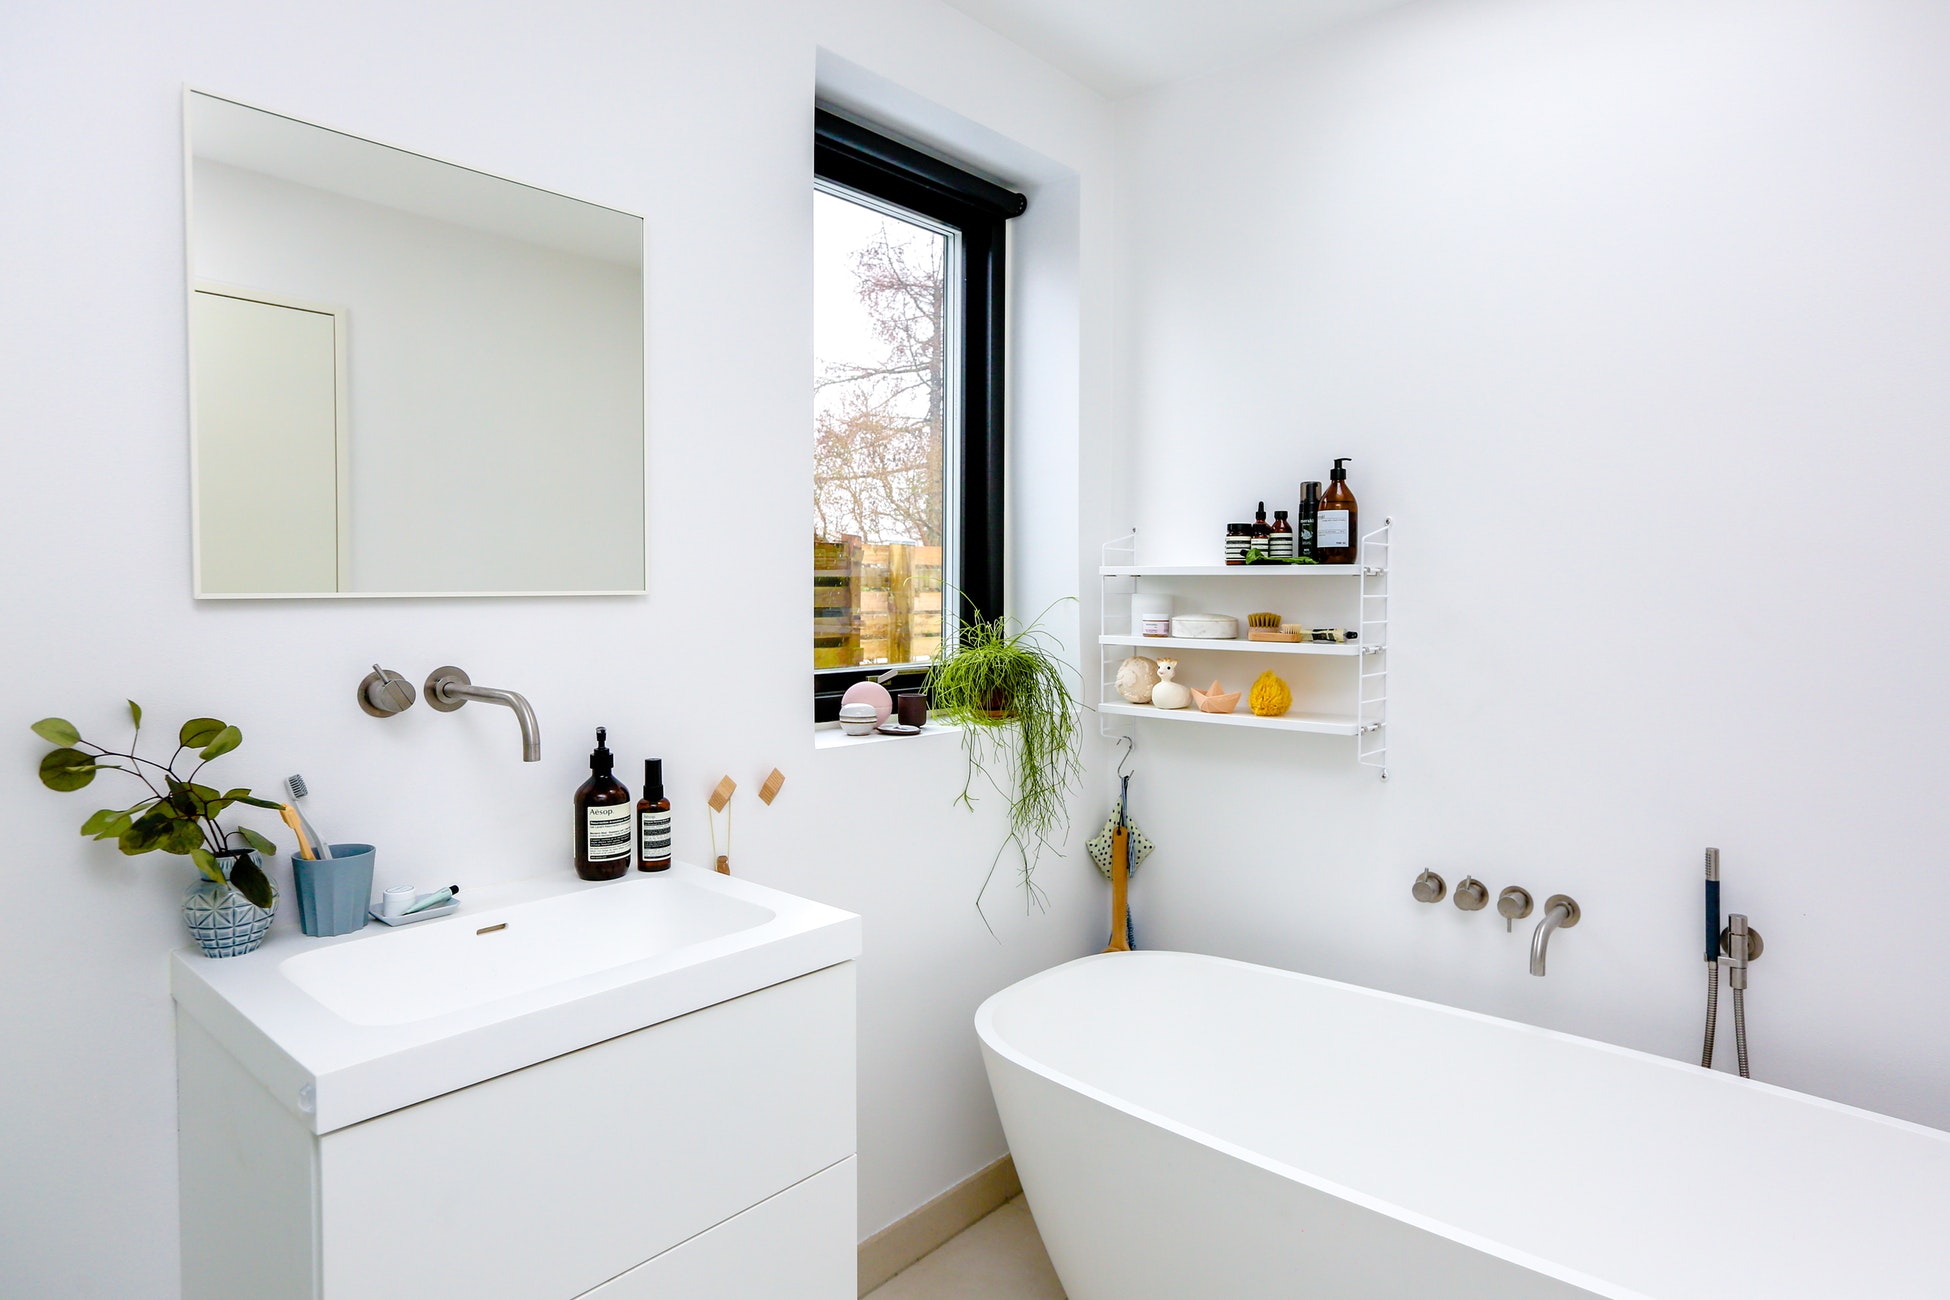
With the possible exception of the kitchen, the bathroom is probably the most used room in the house, especially if you have a family. While the bathroom performs a necessary duty, with a little thought, it is also a room that can be decorated to show some style and a good coat of paint can do just that.
Selecting your Colour and Type of Finish
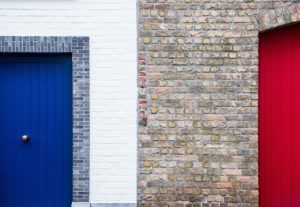
The first thing before all else is to choose the colour for your bathroom. Narrow down the possible colours to a few that you like and pick up some samples from your local paint store, so you can see them at various times of the day, to make sure you find the right shade. You are probably going to be living with the chosen colour for some time, so don’t be in a rush to choose something quickly. Next, you need to determine what sort of finish you are looking for. Satin and Semi-Gloss are probably best, as they are formulated to resist the growth of mildew on the paint, which can be a problem in areas that are constantly exposed to moisture.
Preparing your Equipment and Tools
You don’t need anything exotic to paint a bathroom. A roller is generally recommended, along with a tray for the paint and an angled paintbrush. While rollers aren’t that different, it is worth getting a high quality angled brush for cutting in the borders. With a good brush and a steady hand, using tape along the border isn’t necessary. Additionally, you will need some sandpaper, painter’s tape for masking and a flat headed screwdriver is helpful for removing electrical plates.
Preparation and Painting
This remains the same for everyone, whether doing it yourself, or choosing to hire reliable Gold Coast master painters. Remove all wall hangings and decorations, towel bars and electrical outlet and wall switch covers. Depending on how much clearance you have between the toilet and the wall, you may also need to remove that. Put painter’s tape on door and window trims and along the skirting board to avoid these getting paint on them and wash down the walls to remove dirt and any soapy residues. Place tarpaulins or old sheets over all other surfaces, like sinks and the floor, ensuring you have it fully covered. If you are painting the ceiling, as well as the walls, this is where to start. This is best achieved by painting the edges and then using a roller on an extension pole. Allow it to dry and add a second coat if necessary.
Cutting the Angles and Painting the Walls
Starting in one corner and working in one direction around the room, cut in around windows, doors, and all other pipes and fittings. If your bathroom is a little dark and you are looking for lighter colours, you may require an undercoat or primer. Once completed, you can use the roller for the large spaces, again starting from one corner, and moving around the room in one direction, using vertical strokes and not applying excessive pressure on the roller. Many paint manufacturers recommend using two coats of paint, but ensure you allow the recommended drying periods between coats.
You can now remove all of the painter’s tape, replace the fixtures and fittings and position your decorative effects. Painting the bathroom is not overly complicated and once it is completed, you can stand back, take satisfaction in your work and enjoy your revitalised bathroom.
Keep up with Project Fairytale
Facebook / Pinterest / Twitter
Follow my blog with Bloglovin


