Happy Friday!
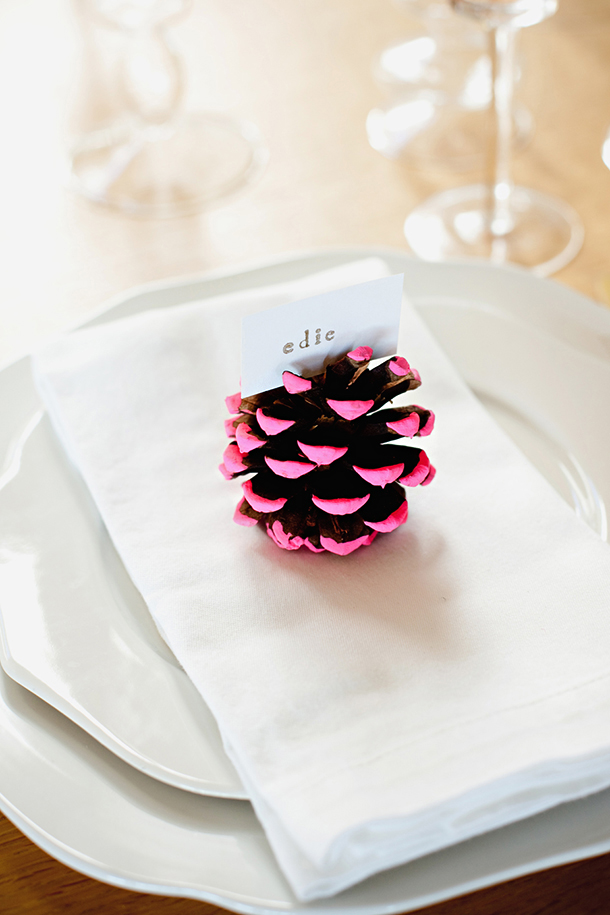
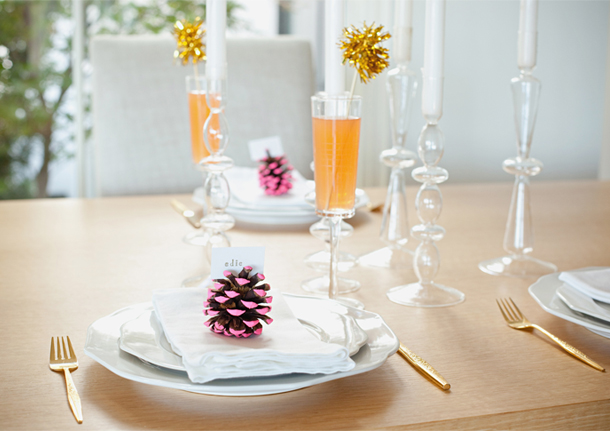
Today I want to show you a fun and easy DIY project I will try today: a pine cone place card holder. I will probably do mine with gold, since this season my Christmas will be gilded, but this neon one seems very fun too, especially with the white china… Uhmmmm, decisions, decisions.
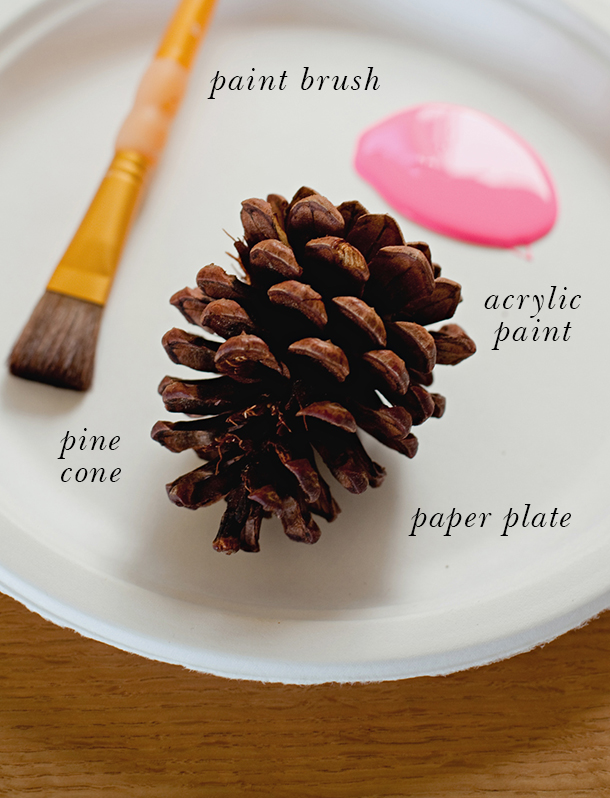
SUPPLIES:
pine cone
paint brush
acrylic paint
paper plate
INSTRUCTIONS
Using the paper plate to protect your table or counter, dab the tip of each prong of the pine cone with paint. For best results, make sure that you’re creating very thick applications of paint. Let dry overnight. Take a paper placecard (Chanel created ours using letter stamps and gold ink) and wedge in between prongs at the top of the cone. You should not need any adhesive for the placecard to stay in place.




Pine Cones and Leaves: Incorporating Nature in Modern Design
Written on October 2, 2013
[…] your guests at your next dinner party with these simple but stunning place card holders from Project Fairytale. A few brushstrokes of paint are all you need to create this lovely DIY. Color-coordinate your pine […]
Fantastic glitter pine cones | For Women
Written on December 4, 2013
[…] DIY and photo credit to: projectfairytale.com […]
Fantastic glitter pine cones | For Women
Written on December 4, 2013
[…] DIY and photo credit to: projectfairytale.com […]
Pine Cones and Leaves: Incorporating Nature in Modern Design - wonderful home decorations
Written on September 21, 2017
[…] your guests at your next dinner party with these simple but stunning place card holders from Project Fairytale. A few brushstrokes of paint are all you need to create this lovely DIY. Color-coordinate your pine […]